
 By admin
The Art of Decoupage: 10 Expert Tips for Stunning Decorative Creations
Introduction: Transforming the Ordinary into Art
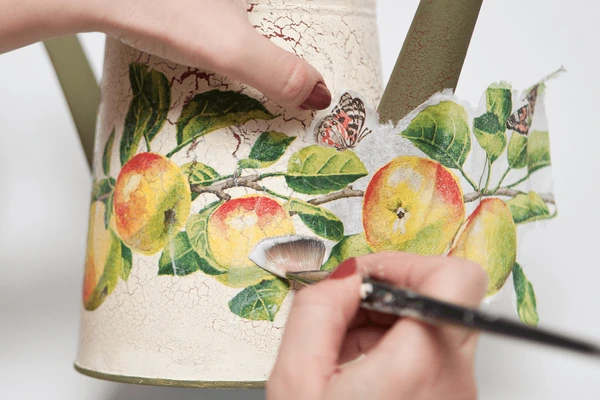
Decoupage is a timeless craft that blends creativity, precision, and imagination. Originating from the French word “découper”, meaning “to cut out,” this technique involves decorating an object by gluing cutouts of paper or fabric onto its surface and then coating it with varnish or sealant. The result is a striking, hand-crafted piece that looks like it’s been meticulously painted or printed.
In the modern age, decoupage has evolved far beyond its traditional roots. Artists and DIY enthusiasts alike now use it to personalize furniture, decorate gifts, design home décor, and even upcycle old materials into breathtaking art pieces. Whether you’re a beginner or a seasoned crafter, understanding the right techniques can make the difference between a simple craft and a professional-quality masterpiece.
Below are 10 expert tips to help you master the art of decoupage, enhance your results, and discover new ways to unleash your creative potential.
1. Choose the Perfect Surface and Materials
Selecting the Right Base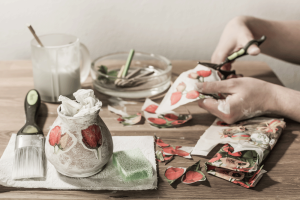
The first step in any decoupage project is to choose the surface you want to decorate. The beauty of this craft lies in its versatility — almost any surface works. From wood, glass, and metal to ceramic, cardboard, and fabric, decoupage can transform ordinary objects into eye-catching décor.
For beginners, start with a smooth surface like a wooden tray, picture frame, or decorative box. Advanced crafters often experiment with larger or irregular items like furniture, lampshades, or even glass bottles.
Picking Quality Images
Next, select the visuals that will define your project — pictures, magazine clippings, wallpaper, or printed designs. Always use high-resolution images. If you’re using digital artwork or photos, scan them at a high DPI and print on quality paper to prevent fading or tearing. Glossy magazines may bleed when glued, so matte prints often yield cleaner results.
2. Tear, Don’t Cut – For a Natural Finish
Precision cutting may seem tempting, but tearing your images instead of cutting them creates softer, more organic edges. This allows the pieces to blend seamlessly into the surface, avoiding harsh lines that make the design look artificial.
Layering for Depth
To add richness, overlap your torn images. Mix textures and sizes to create a visually dynamic collage. You can combine floral patterns, text snippets, and abstract shapes for a unique artistic effect. The goal is harmony — an arrangement that feels spontaneous yet balanced.
3. Plan Your Layout Before Gluing
Before reaching for the glue, arrange your design on the surface. This dry layout phase is essential to ensure your composition feels right. Try different placements and take photos of your favorite versions for reference.
This planning stage helps you avoid misalignment or imbalance later. Remember, once glued, repositioning pieces is difficult. Decoupage works beautifully on functional items like furniture, albums, frames, jewelry boxes, and vases — so the design must enhance, not overwhelm, the item’s shape.
4. Prevent Air Bubbles for a Flawless Finish
Air bubbles can ruin an otherwise perfect project. To avoid them, always start gluing from the center outward. Use a soft brush or foam roller to press the paper gently, eliminating trapped air.
The Air Spray Technique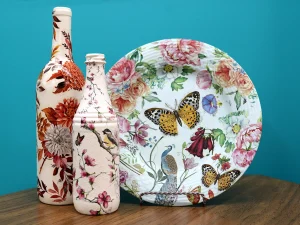
For a more professional touch, try the air spray method. Using a compressed air canister, direct the air from top to bottom as you apply the paper. This ensures an even bond and prevents wrinkles. Once the glue sets, apply a smooth layer of decoupage medium or Mod Podge over the top to seal and protect your design.
5. Prepare and Seal the Surface Properly
Before gluing, clean your surface thoroughly. Dust, grease, or moisture can prevent the paper from adhering properly.
Cleaning and Priming
- For wood: Lightly sand it to remove imperfections, then wipe with a damp cloth.
- For metal or glass: Use alcohol wipes or mild detergent to remove oils.
- For porous surfaces like clay or cardboard: Apply a primer or sealant to create a smoother texture.
If your surface requires painting, use acrylic paints for their fast drying time and compatibility with most adhesives. Always let the paint cure before beginning your decoupage. Tools like an X-Acto knife or small scissors are ideal for trimming intricate areas.
6. Hide Unwanted Text and Backgrounds
Sometimes, magazine cutouts or old papers come with printed text or unwanted details. To obscure these elements without losing the overall image, apply a thin coat of gesso mixed with sealer (like polyurethane or acrylic medium). This combination lightly mutes the background while keeping your image crisp and vibrant.
You can find quality craft supplies in stores like Michaels, Hobby Lobby, or The Range, where specialized gessos and decoupage sealers are readily available.
7. Start with the Corners When Working on Boxes
When decorating boxes or similar containers, begin at the corners or edges. Once those are secure, move toward the center. This technique ensures even coverage and alignment.
Special Tip for Glass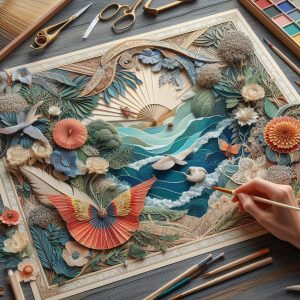
If using PVA glue on glass, mix in a drop of glycerin. This slows the drying process and helps you position your paper more precisely. It also reduces the risk of cracks forming when the glue dries too quickly.
8. Use Tearing and Gilding for Dramatic Effects
When extending your images or filling gaps, always tear, never cut. Tearing produces irregular edges that merge naturally with the background.
Adding a Touch of Gold
For a luxurious, vintage look, try gilding. After applying gold or silver leaf, let it dry completely. Then brush lightly with black Japan paint and gently wipe it off with a rag. The result is an antique patina that adds depth and drama. Finish with a thin coat of sealer or varnish to lock in the shine and protect your artwork.
9. Decoupage with Fabric for a Soft, Elegant Look
Decoupage isn’t limited to paper. Fabric decoupage offers a softer, textured aesthetic, perfect for jewelry boxes, canvas bags, or furniture accents.
Managing Fabric Joints
If covering a box, position fabric joints along the front face. This ensures that when the box is opened, the seam remains invisible. To conceal raw edges, decorate with ribbons, lace, or trims around the top border.
When skipping a cardboard base, attach the fabric directly to the surface using decoupage glue, smoothing it carefully to prevent wrinkles. Allow each layer to dry completely before applying another to achieve a professional finish.
10. Use Color Photocopiers for Perfect Prints
If your design relies on printed photos, use a color photocopier instead of black-and-white. Color copiers capture deeper blacks and richer tones, giving your project a polished appearance.
Scaling Your Images
Before printing, measure your object to determine the correct image size. You can:
- Enlarge images for statement pieces
- Reduce them for delicate or intricate designs
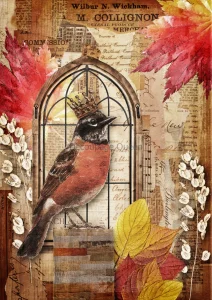
- Or print symmetrical duplicates for mirrored layouts
These small adjustments can completely transform your design’s visual balance. Always test your print on regular paper first to verify color accuracy before printing on high-quality paper for decoupage.
Advanced Tips for Professional Results
Layering with Sealants
Once your images are glued and dry, apply three to five coats of varnish or decoupage medium, allowing each to dry fully before applying the next. Lightly sand between layers with fine-grit sandpaper for a glass-smooth finish.
Experimenting with Texture
Use crackle glaze, matte finishes, or high-gloss coatings depending on the desired effect. Crackle glaze adds an antique texture, while gloss varnish creates a sleek, modern sheen.
Combining Materials
Modern decoupage often integrates mixed media elements such as pressed flowers, metallic flakes, or 3D embellishments. This approach bridges traditional crafting with contemporary design trends, making your creations look more sophisticated and original.
Conclusion: Express Your Creativity Through Decoupage
Decoupage is more than just a craft—it’s a creative language that allows you to express personality, history, and style through visual storytelling. Whether you’re revamping old furniture, creating custom gifts, or simply exploring a relaxing hobby, the process itself is as rewarding as the result.
By following these ten expert tips—choosing the right materials, perfecting your technique, and experimenting with textures—you’ll soon master the art of turning everyday objects into captivating works of art. With time and patience, your decoupage pieces will reflect not only skill but also the unique story of your imagination.
The Art of Costuming and Masking in Cinema